Zotero Tags
TAGS
Tags are keywords you can assign to items. They can be anything you like—most often they’re used to describe the topics an item is about, but some users have also used them to mark the status of an item (e.g., read or unread), assign responsibility (e.g., in a shared group library), or even just to color-code it (e.g., the color of books in a personal library).
Tags are searchable through the Zotero search box and browsable through the tag pane in the bottom left corner of your Zotero window.
Tags can be imported from databases along with citation information or they can be added manually. I highly recommend disabling the automatic tagging feature and instead tag manually because the former will clutter your tag cloud, while the latter allows you to tailor your tagging system to your individual needs.
ADDING TAGS
To tag an item:
- Select the “Tags” tab in the item detail pane on the right.

- Click on the “Add” button.
- Type the tag that you want to apply in the box and hit enter.
Note: If a tag already exists that starts with the same combination of letters, it will pop up, and you can select the one you want by clicking on it. - Add as many tags as necessary.
- All tags you added to the item should now also appear, in alphabetical order in the tag pane on the bottom left of your Zotero window. (See below for more information on the tag pane.)
If you want to tag multiple items with the same tag at once, do the following:
- Make sure that the tag you want to apply already exists:
- If the tag appears in the tag pane, you’re good to go.
- If the tag doesn’t appear in the tag pane, select one of the items you’d like to tag and add the tag to that one item, as described above.
- In the center pane, select all the items you want to tag with the tag in question.
- Drag the items onto the tag in the tag pane.
- To verify that this worked, click on the tag in the tag pane.
- If you see all of the items you tried to tag with this tag in the center pane now, you’re all set.
- If you don’t see all the items that were supposed to be tagged, repeat the steps above.
THE TAG PANE
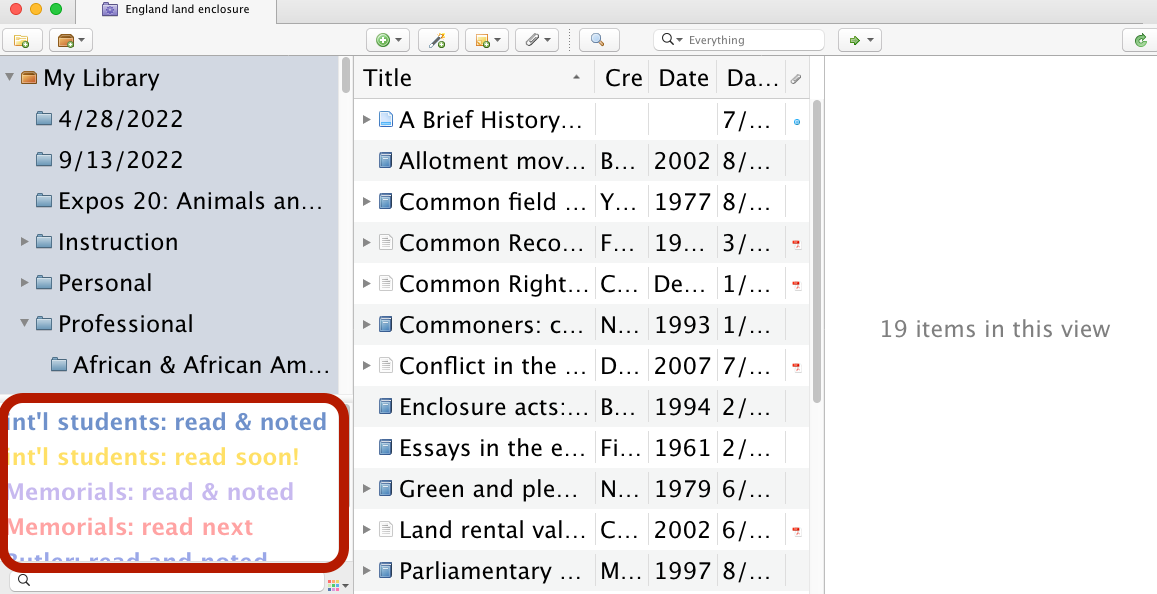
You can find the tag pane in the bottom left corner of your Zotero window. The tag pane is the best place to manage your tags as well as to browse your library by tags.
BROWSING YOUR LIBRARY BY TAGS
The tag pane will only show the tags attached to the items in the collection you’re currently viewing. We therefore recommend to start browsing by tag in your “My Library” view.
To explore your library (or a collection or subcollection, depending on your view) by tag, simply click on the tag, and it will show all items thus tagged within your library (or collection or subcollection). If these items have also been tagged with other tags, those additional tags will still show in the tag pane. You can click on them to refine your selection further.
COLOR-CODED TAGS
You can color-code up to nine tags. To do so,
- right-click on the tag;
- select “Assign Color…”;
- click on the color rectangle to choose a color;
- click “Set Color.”
To remove a color, follow the same steps as above but select “Remove Color” instead of “Set Color.”
You’ll notice that the dialog box also allows you to define a position from 1-9 to this tag. (If you don’t do anything, Zotero will attach a position to any color-coded tag automatically.) This is because color-coded tags are displayed before all other tags in your tag pane, which are sorted alphabetically. Therefore, you can use color-coded tags not only to highlight those that are most important to the project you are currently working on, but to surface them before less relevant tags and in the order that is most useful to your project, regardless of alphabetical order.
RENAMING, MERGING, AND DELETING TAGS
To rename a tag:
- Right-click on the tag.
- Select “Rename Tag…”
- Enter the new name.
- Click “OK.”
To merge two or more tags into one:
- Right-click on the tag you no longer want to use.
- Select “Rename Tag…”
- Enter the name of the tag that you want to use going forward, making sure that you use exactly the same spelling, including capitalization.
- Click “OK.”
To delete a tag:
- Right-click on the tag you want to delete.
- Select “Delete Tag…”
- Click “OK.”
In all of these cases, changes you make to tags will be reflected on all items tagged with that tag:
- Renaming a tag will automatically apply that change to all items tagged with this tag.
- When merging tags, items tagged with the no preferred tag will be tagged with the new, preferred tag.
- Deleting a tag will remove it from all items tagged with it. The items themselves will not be deleted.