Setting Up Zotero – Step by Step Tutorial
Zotero [zoh-TAIR-oh] is a free application that collects, manages, and formats citations and bibliographies. Zotero also helps organize your research by allowing you to attach PDFs, notes, and images to your references. You can arrange your sources into collections for different projects and tag them for easy searching.
INSTALLING ZOTERO
Step 1 – Zotero can be downloaded from Zotero.org/download
Step 2 – Once on this screen click the bright red download button located in the center of the screen. Here you will see two different options for download. You will need to download BOTH of these for Zotero to work properly.
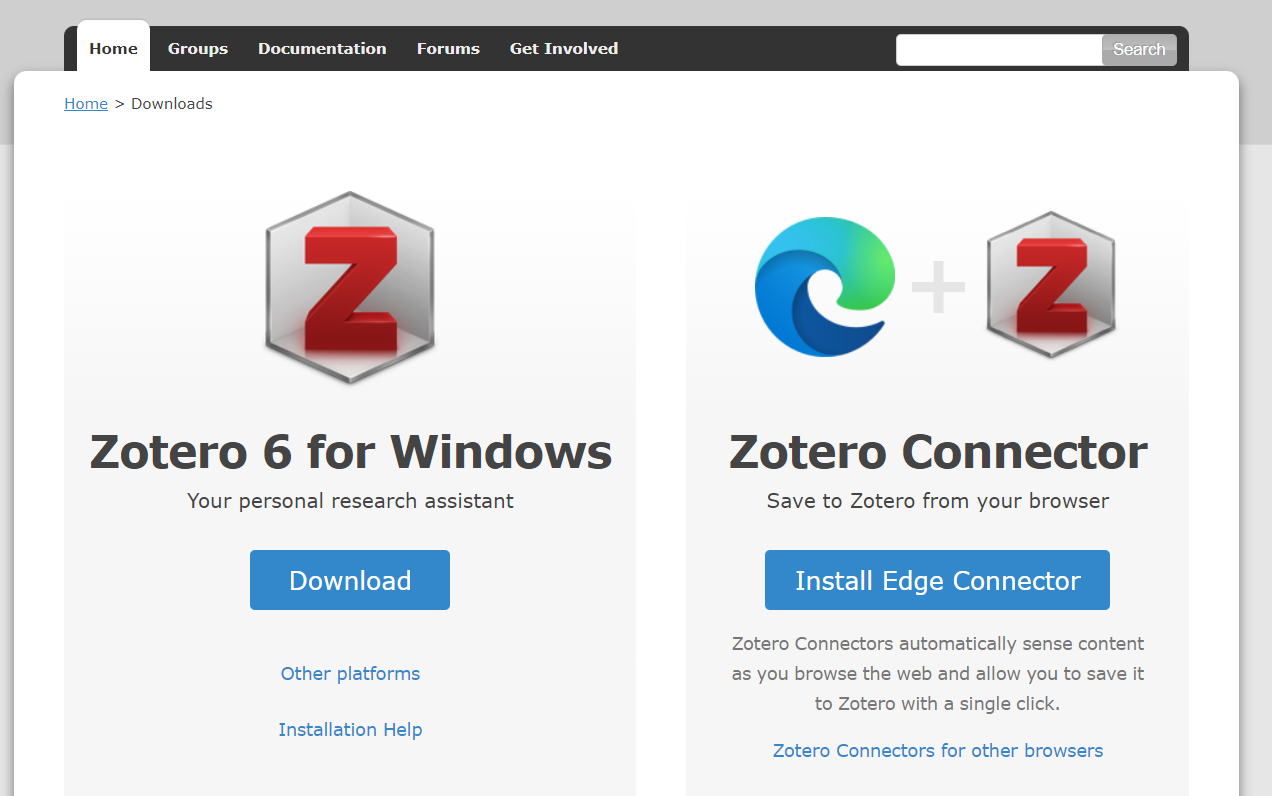
Step 2.1 – Install (Download) Zotero 6
This option is for downloading the desktop Zotero client to your personal computer to easily access your library off-line. Zotero includes options for Windows, Macs, and Linux machines.
Step 2.2 – Install the Appropriate Connector for your browser of choice
The second is for the Zotero browser plug-in which allows you to simply add articles, books, and other resources from a webpage straight into your Zotero library. Zotero will automatically sense which browser you are using and download the appropriate plug-in, if you would also like to install the plug-in on another browser, for example both on Chrome and Firefox, click “Zotero Connectors for other browsers” for more options. (It is recommended to use Zotero with Chrome and Firefox though connectors are also available for Safari and Edge.)
- In your browser, do you see a Zotero icon in the toolbar (either a red Z or grayish/blueish icon that looks like a piece of paper with a box on it; it’s usually somewhere close to the URL box.)? If yes, you’re good to go. If not, try one of the following:
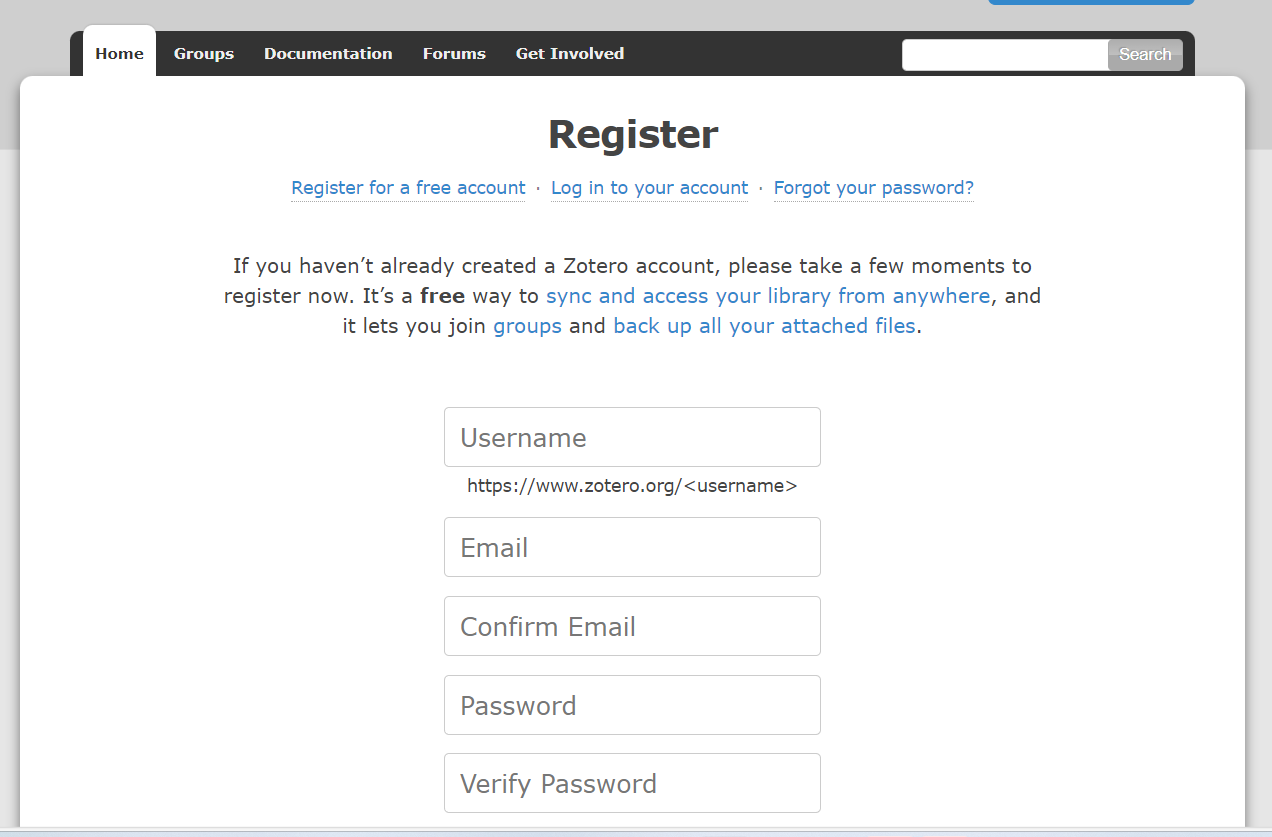
Step 3 – Creating an account at Zotero.org account using your Mason email address (and sync it with the cloud)
A Zotero account allows you to:
- sync your local Zotero library on your computer into the cloud, which is great if you need to switch computers or if you work on multiple computers simultaneously;
- collaborate and share libraries with other Zotero users;
- store unlimited files in the cloud, as long as you use your Mason email to register for the account.
To sign up for a Zotero account, simply go to the registration page, fill out and submit the form, wait for the confirmation email and click on the confirmation link it will contain, and you should be good to go. It is vital that you use your Mason email address when signing up for your account to receive the full storage space.
Step 3.1 – Back on Zotero’s homepage (Zotero.org), in the upper right-hand corner click on Log In if you weren’t automatically logged in after your confirmation link.
SETTING UP ZOTERO PREFERENCES
Step 4 – Open the Zotero application on your computer
Step 5 – On a PC: In the Edit menu, select “Preferences”. On a Mac: In the Zotero Settings menu, select “Preferences”
Step 6 – In the General tab, uncheck Automatically tag items with keywords and subject headings. This setting will allow you to create and maintain your own tags instead of creating unwanted clutter. [more information on tags]

Step 7 – In the Sync tab, add your username & password
Data syncing merges library items, notes, links, tags, etc. between your local computer and the Zotero servers, allowing you to work with your data from any computer with Zotero installed. It also allows you to view your library online on zotero.org.

By default, Zotero will sync your data with the server whenever changes are made.
Step 8 – Citation Styles

- Go to the ‘preferences’ option under Edit in the top menu bar in the Zotero client
- Select “Cite”
- Click the “Styles” tab
- Select one of the Chicago styles and click “OK”
Step 9 : In the Cite tab, open the Word Processors tab & check the box next to Use Classic Add Citation dialog. This setting allows you to view your Zotero library and collections the same way you see them in the desktop app when you insert citations in Word or Google Docs Word Processor Integration
After completing the installation, I recommend opening Word to make sure your Zotero tools have been added. If you do not see the Zotero tab, you may have to close and re-open Word and Zotero before it appears. In Google Docs, click on the Zotero to follow directions to connect Zotero to your Google account.

Zotero Standalone, when installed properly, automatically integrates with Microsoft Word. If you are unable to access the Zotero tools in Word after installing Zotero, follow these instructions for Word:
- Save any unsaved work in Microsoft Word, then quit Word
- Go to your Zotero Preferences (Edit > Preferences in Windows, Zotero > Preferences in macOS)
- From the Cite menu in Preferences, click on Install Microsoft Word Add-In
To install on Google Docs, click here: Using Zotero with Google Docs
For more information on Using Word and Google Docs with Zotero click here: Using Zotero with Word and Google Docs AND Adding Citations/Bibliography Using Word/Google Docs
For more information on creating Citations and Bibliographies, go here: Bibliographies, Footnotes, and Endnotes
Step 10: SET UP ZOTERO TO USE CHECK FOR FULL TEXT
- Click on the Edit menu and select “Preferences”.
- Click on the Advanced tab.
- Copy & paste the following into the “Resolver” field, under “OpenURL”: http://resolver.ebscohost.com/openurl
- Click the OK button.
- If there is an item you are trying to find online, click on the “Locate” button (the green arrow to the right of the search box).
Step 11: SET UP THE LOCATION FOR STORING DATA ON YOUR COMPUTER
It is important to know where the data is stored on your computer in case you ever need to reload your library from a backup. The default for the Zotero folder is not always intuitive (especially on Macs). Choose a file location that makes sense to you.
- Create a folder on your computer called “Zotero” (or whatever makes sense to you) in your documents folder, your U: Drive, or wherever seems logical.
- Click on the Edit menu and select “Preferences”.
- Click on the “Advanced” tab.
- Click on the “Files and Folders” tab.
- Under “Data Directory Location”, select “Custom”.
- Click on “Choose” and locate the folder you created.
- Click “Select Folder” and restart Zotero.
Step 12: – ORGANIZE YOUR ZOTERO LIBRARY
Zotero offers two principal ways of keeping your library organized:
- Collections are similar to file folders and can be used to group your citations by project, by class, by assignment, or other ways that make sense to you. [more information on collections]
- Tags are keywords that can be assigned to each citation. Most Zotero users use this function for the topics a citation is about, though there are other use cases, too. [more information on tags]