L O G G I N G I N:
Let’s begin with learning how to login.
1. Type the URL of YOUR website into your search bar. (ex. gebeasley.org/HIST390)
2. Add “/wp-admin” to the end of the URL.
3. Type in your username and password.
THE DASHBOARD:
The “At a Glance” feature shows how many published posts and pages you have, as well as the current version of WordPress your site is using.
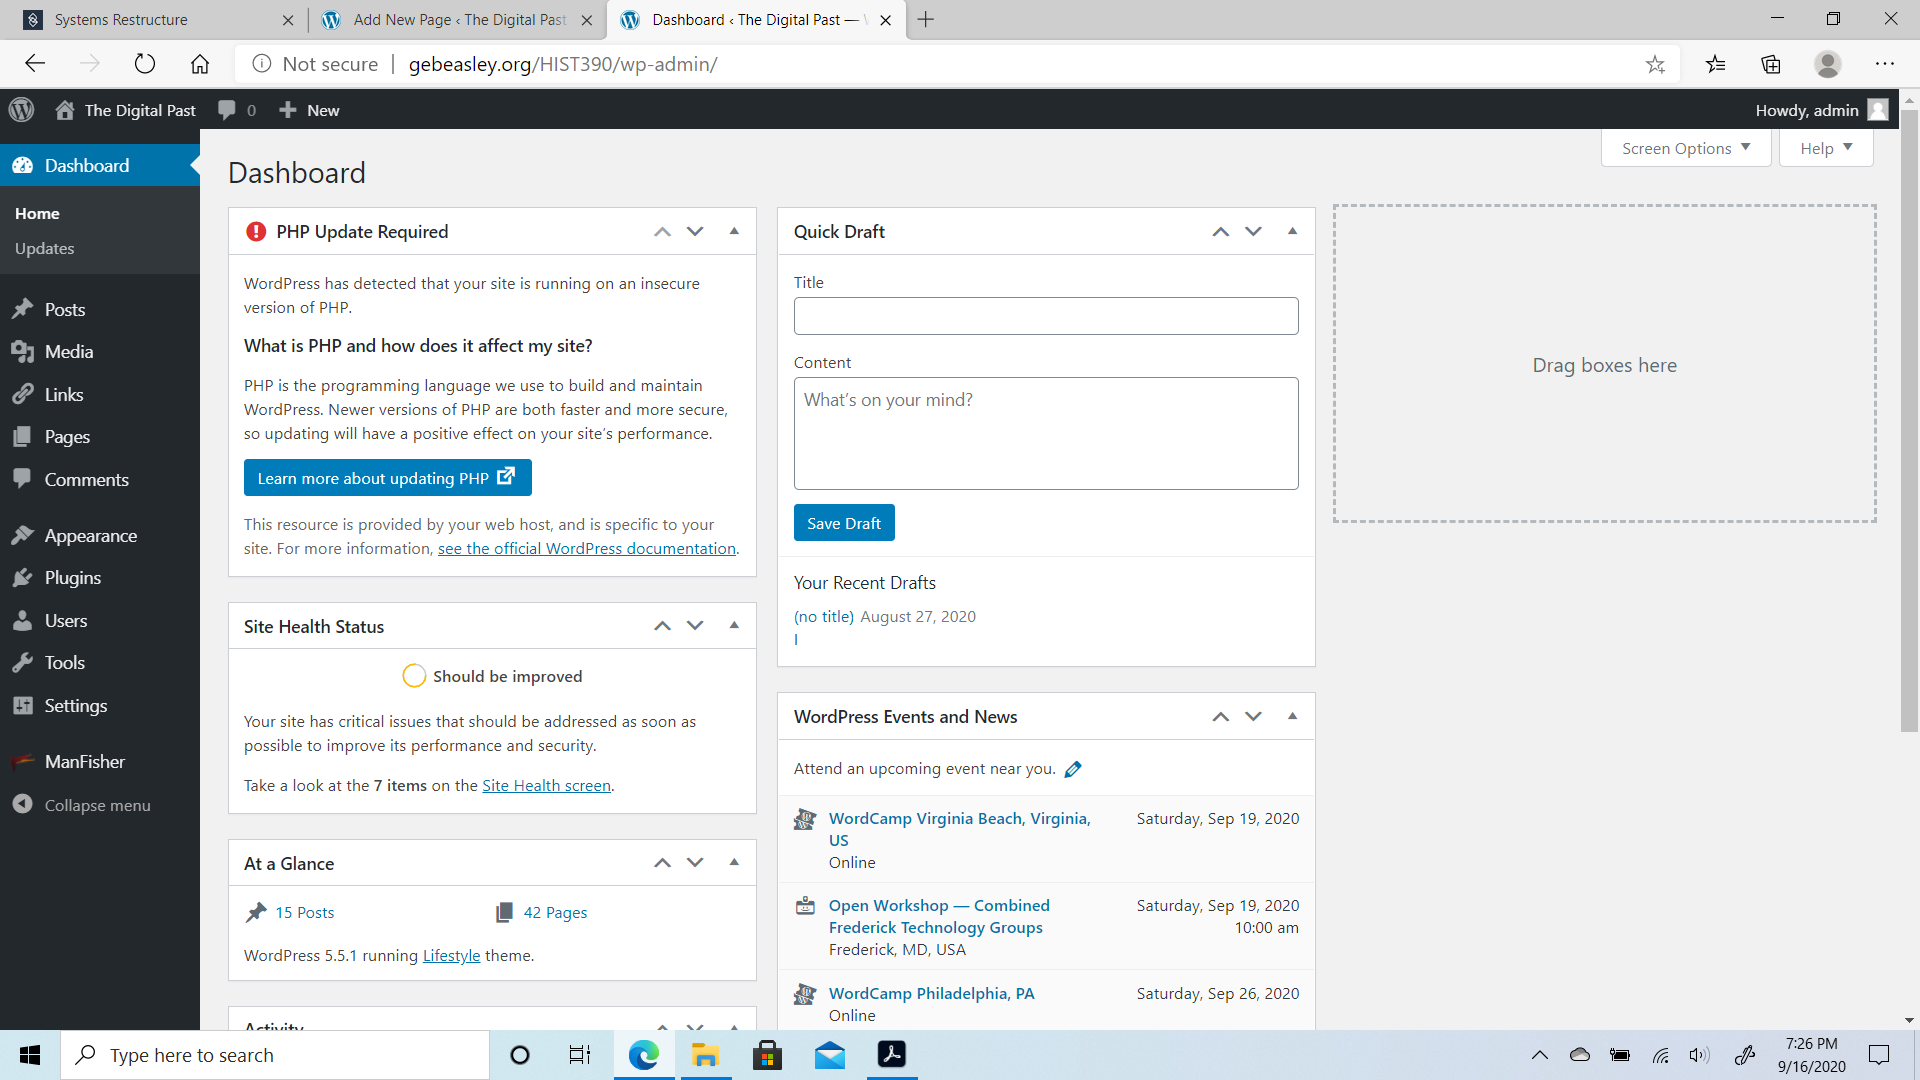
Quick Draft
Start the draft of a post right from the dashboard! Just start typing.
Activity
See what’s happening on your site–who’s making comments, what’s been published., etc.
*Know that your dashboard might look a little different than the picture below, but never fear! The basic information is the same.
M A K I N G A P O S T:
Posts are the foundation for WordPress sites. Here’s how you make one.
1. Start by heading to the “Posts” tab on the left hand side of the Dashboard. This will give you an inventory of all of your posts either published or saved as a draft. This page will also give you details on each post regarding the author, comments that have been published to the post, and the date it was made public. To make a post, go ahead and click “Add New” at the top next to the header for this tab.
2. Add a title to your post. Make it something specific! This makes it easy for visitors to your site to search for specific posts, as well as search engines to pull your article to the top of the showcased results. Once you’ve got a title, click “Add Row.” This will allow
you to add different types of content to your blog. For normal, normally news-related text-based posts, select “Default Content.”
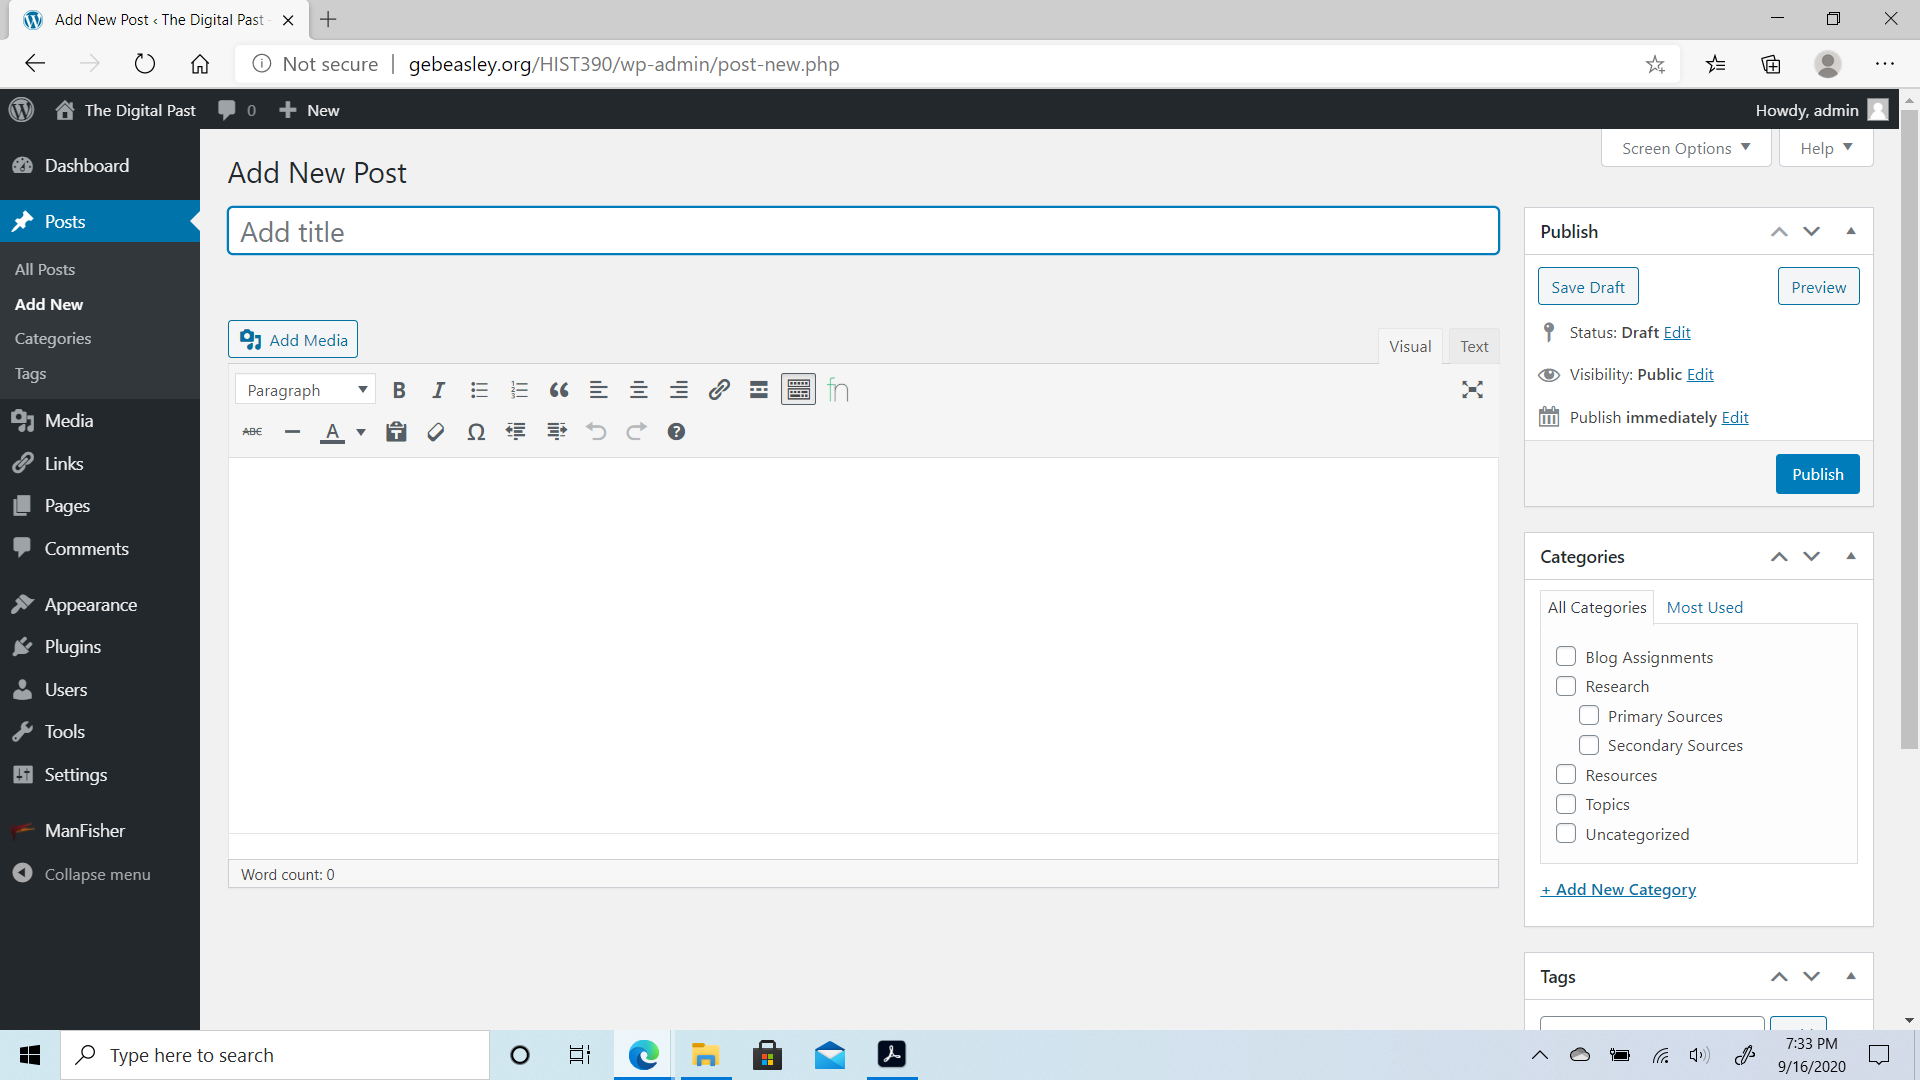
3. Write your post. Add media (either pictures, videos, music, or any combinations of the three) to your post by clicking the “Add Media” button when your cursor is in the right place. Make sure to add a featured image. This is done by clicking on the “Add Featured Image” link on the right side of the page.
4. Add categories and tags to your post in order to make it easy for people to find your articles. Posts are collated based on their categories and tags. For example, posts categorized / tagged as “News” will automatically be placed in the “News” carousel, which makes them easy to find in once place.
- Categories are broader than tags and are great ways to group large numbers of posts together. The College of Humanities has each specific department labeled as a category. This way, department heads, chairs, and students in related majors can easily access all published information. Categories should be added to post pretty sparingly.
- Tags are where the real magic happens. Tags are more specific than categories and can be added in larger quantities to a post. To take a look at your most common tags, click the “Tags” tab on the right hand side once you’ve selected the main “Posts” tab. A word cloud containing your most used tags will appear. Click on these to see which posts have been tagged.
5. Publish your post! Let people know you’ve got some-thing to say. Make sure people can see your post. If a post is still in the pre-publishing phase, it’ll appear as a “Draft.” You can change who’s able to see the post by toggling the “Visibility” option. (For posts containing in-formation that should only be available to certain people, keep it private and password protected.)
Know that you don’t have to publish your work right away. It’s sometimes a good idea to write a new blog posts in advance and then release them periodically throughout the week, which will keep your workload light while still maintaining a regular posting schedule for your followers.
THE MEDIA LIBRARY:

Words are great, but pictures are better. They make your post interesting. Studies show that adding an image can quadruple your post’s activity! Woohoo! Adding media to your library is easy. All you need to do is click the “Add New” button at the top of the Media Library page. After that, drag and drop your images, videos, or music files into the window to upload them. You can rename files within the WordPress library to make them easier to find later.
ADDING MEDIA INTO YOUR POSTS OR PAGES:
1. Open up a page or post. After you’ve added some text, place your cursor where you’d like your image to appear.
2. Click the “Add Media” button. This will bring you the media gallery where you can choose which item you’d like to insert.
3. Select an image or a video clip. It will be inserted where your cursor was before. You can move the media piece after it’s been placed by dragging it with your cursor to another place within the post.
To format your image, highlight it by dragging your cursor over the image. To change the placement to either justified or centered, click the lines of text that correspond with the placement you desire and the image will move to accommodate the request. Make the image larger or smaller by clicking the pencil icon in the hover box. This will bring you to the photo editing station, where you can change the image’s size and add a caption.
Remember to add a featured image, which can be selected in the box in the bottom right corner. This will be the image that will headline your post. When you click “Set featured image”, the media gallery will reopen and you’ll be able to choose an image just as you did when you were inserting it into a post.
However, featured image dimensions often cut either the top or bottom off of pictures unless they are the proper size. To ensure your image will not be distorted, size it either in Photoshop or another photo editing program to be 672 x 372 pixels.
P A G E T Y P E S & L A Y O U T S:
Creating a page is as easy as creating a post. Actually, it’s exactly the same! The difference comes in the content.
Posts are for timely pieces of information, such as news reports or feature articles. Pages are for static content, or information that you’d like to have constantly available to visitors to your site.
Pages can be created either as standalone pages or as “umbrella” pages that house other pages, posts, or pieces of media. I’ll talk about placing these pages on your website, but for now, I’ll go over how to make the collective or “umbrella” page first.
1. Begin by creating a new page that works as a general categorizer for all of your additional pages, posts, or media items you’d like to add. Some examples could be “Toolkit” or “Documents”.
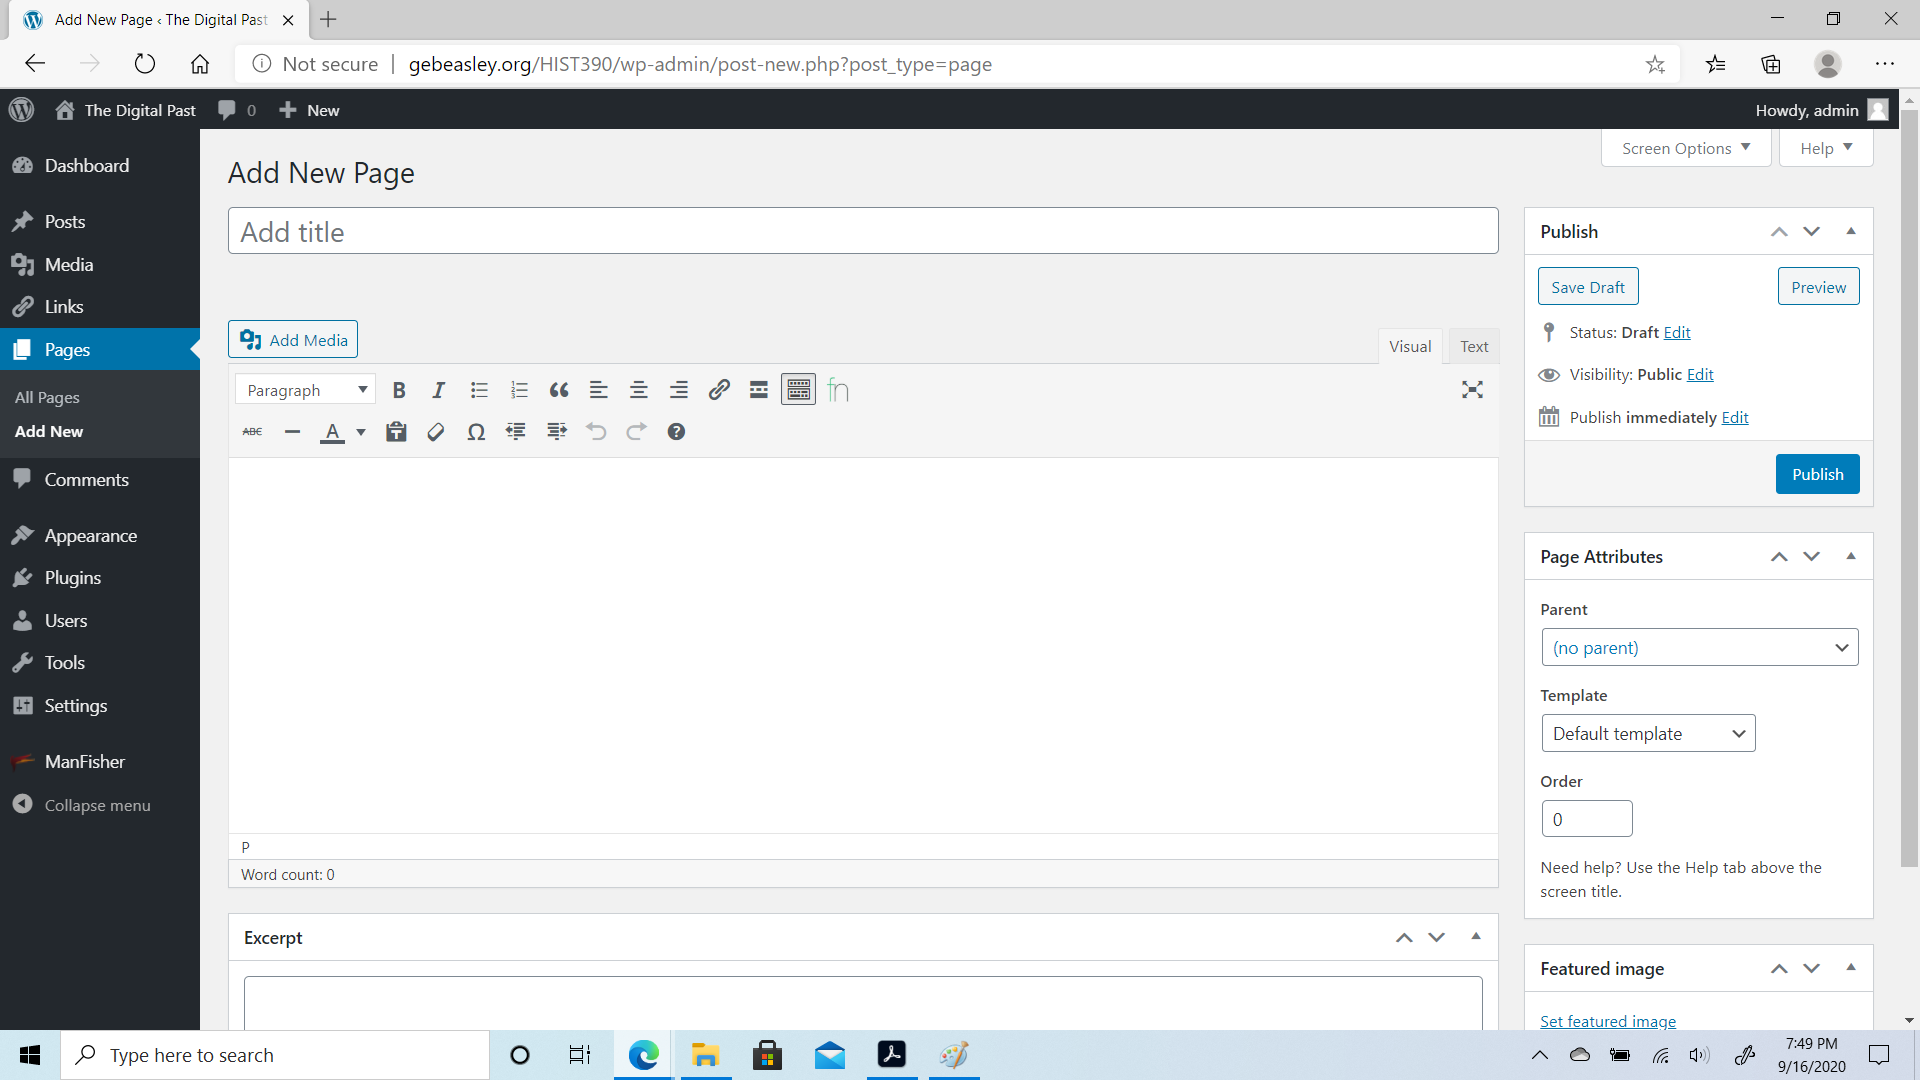
2. Enter the name of the pages you’d like to group together in the search bar on the right side of the box. Pages or posts that contain the content you searched for will be filtered in the box below.
3. Set a featured image that will serve as an
icon for all of the pages and posts as a collective
group.
Know that if you’d like to make changes to the featured image for the page or change the page’s title within the list, you’ll need to make those edits on the page itself.
4. Click “Publish.”
APPEARANCE:
The “Appearance” tab does just what its label suggests—changes the look of your site.
Themes & Customize:
The theme controls the overall look of your site, including the layout and color schemes.
You can go to “Customize” tab on the website and change the site name and tag line. This tab will also allow you to add widgets to your site; see below for what exactly widgets do.
Widgets are WordPress “apps” that allow you to customize your site, such as a calendar or form. They can be added and deleted in the “Customize” tab.
“Menus” are basically the control panels for your site that allow visitors to select the posts and pages they’d like to view. To edit a menu, use the following steps:
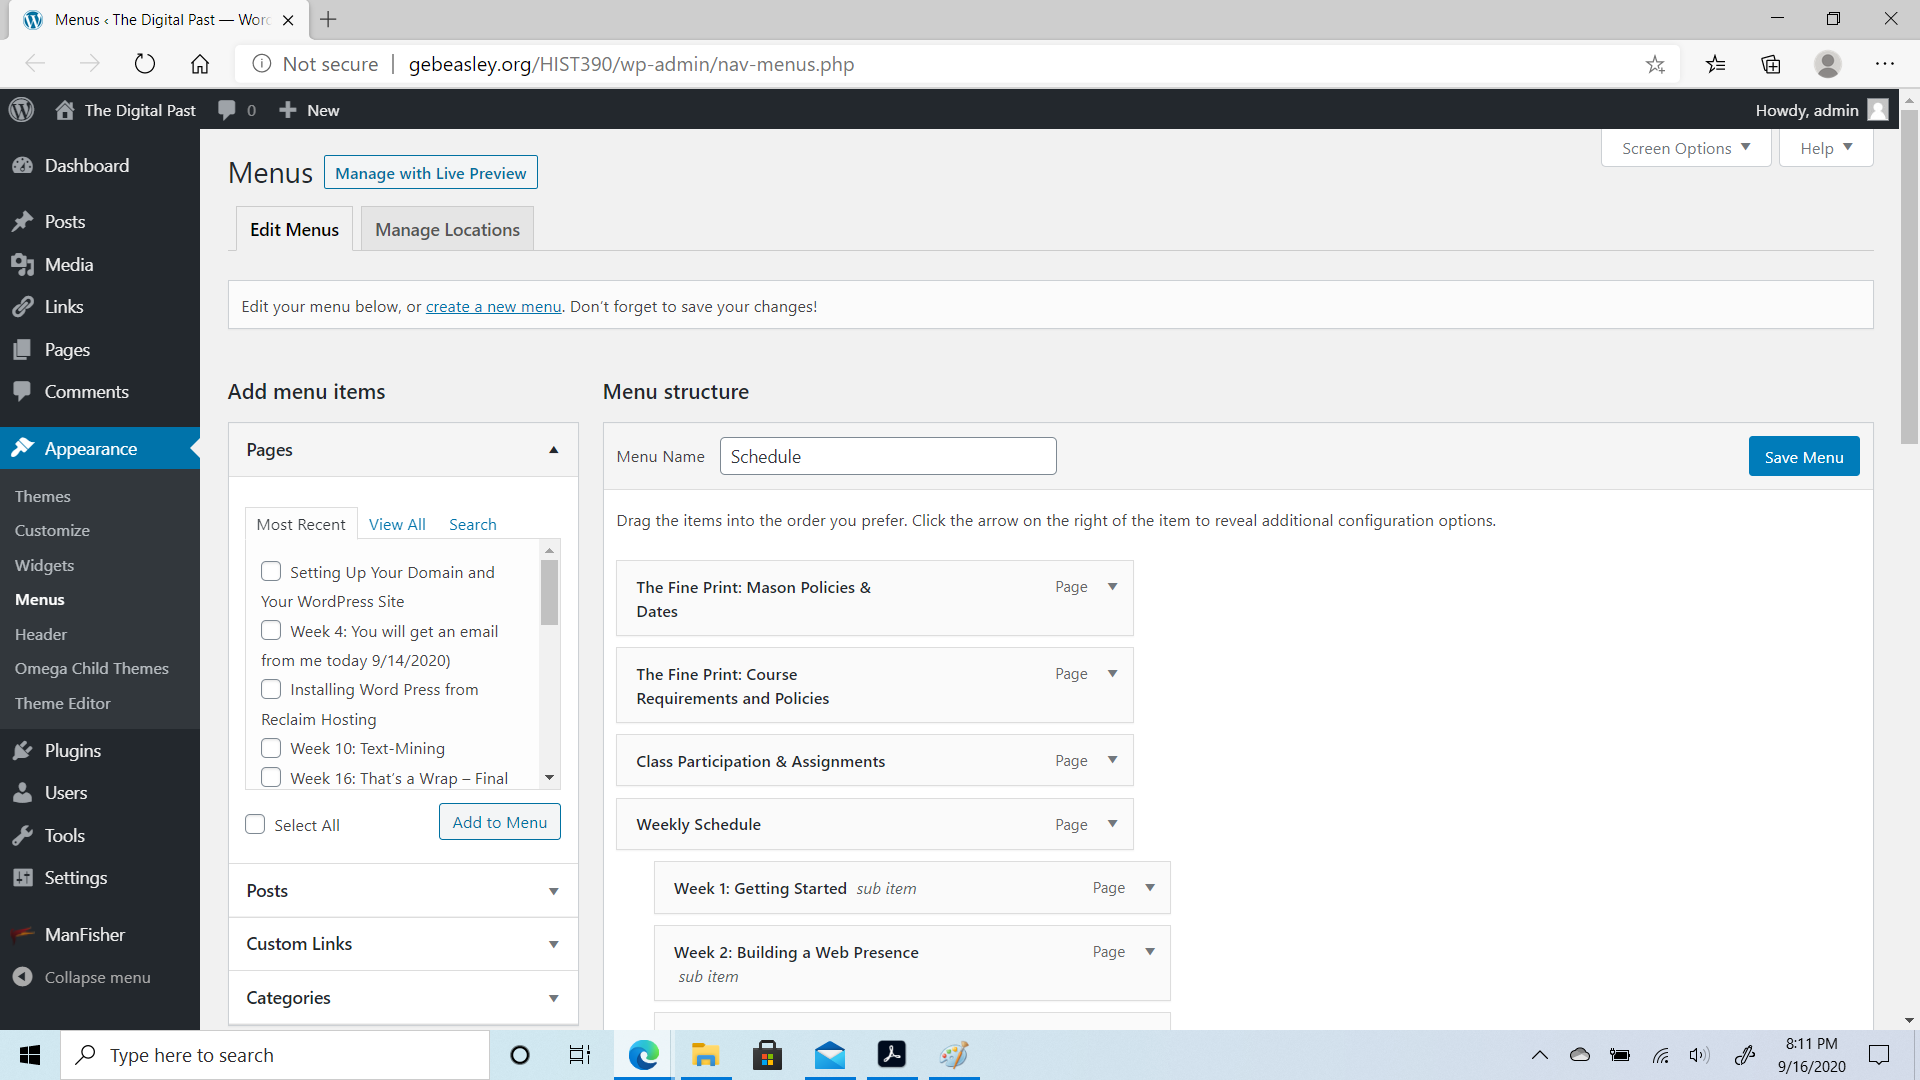
- Select a menu to edit at the top of the page. Your main menu that appears on the home page is called the “Main Navigation” menu.
- Menus are constructed of already-created pages; you can drag and drop from the box on the left. Know that if the page has not been created, it will not appear.
- To create headers and sub-headers, simply move the box either towards the left or right. The farther to the right, the higher the page will be on the menu hierarchy.
- Click “Save Menu” when you’re finished to ensure your changes appear on your site.

