Posts are the foundation for WordPress sites. Here’s how you make one.
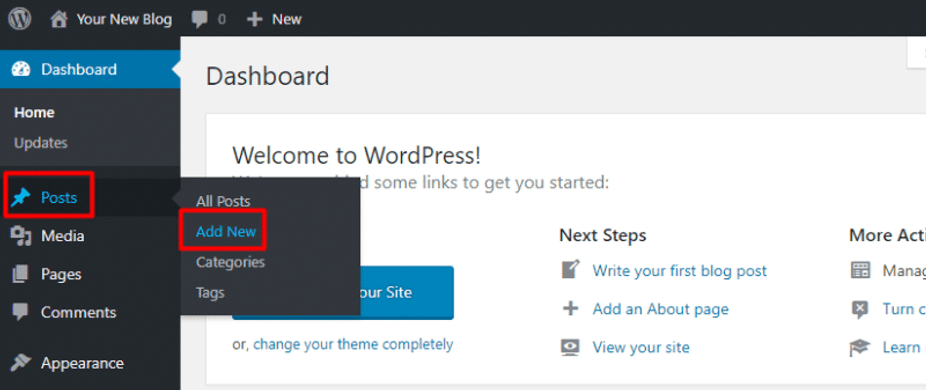
1. Start by heading to the “Posts” tab on the left hand side of the Dashboard. This will give you an inventory of all of your posts either published or saved as a draft. This page will also give you details on each post regarding the author, comments that have been published to the post, and the date it was made public. To make a post, go ahead and click “Add New” at the top next to the header for this tab.
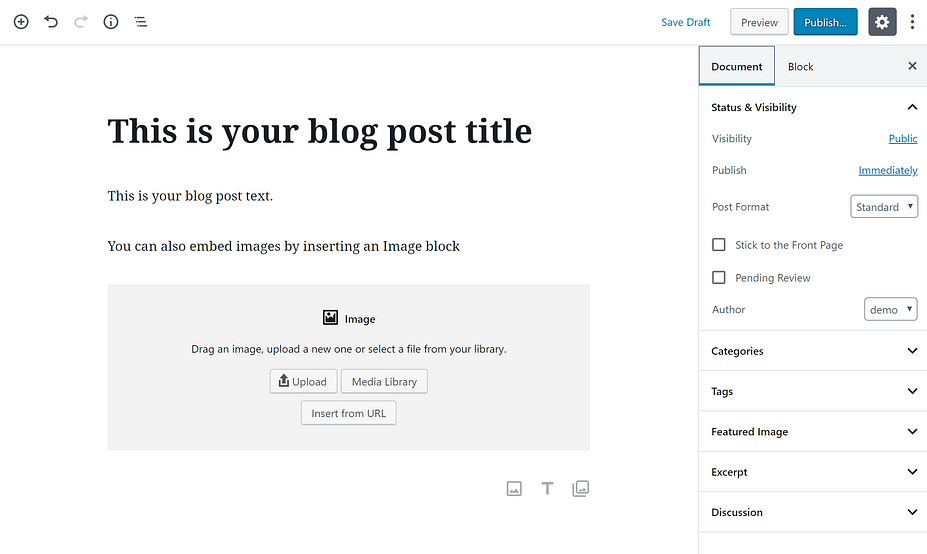
2. Add a title to your post. Make it something specific – like “August 26 – Blog Post”! This makes it easy for visitors to your site to search for specific posts, as well as search engines to pull your article to the top of the showcased results.
3. To add text, you just click and type. For other content – like an image or an embedded YouTube video, you can add new “blocks.” To add a new block, all you need to do is click the +Plus icon and select the type of content you want to add (more information on how to edit your block can be found here: What is the Block Editor & How do I use it?
4. Add categories and tags to your post in order to make it easy for people to find your articles. Posts are collated based on their categories and tags. For example, posts categorized / tagged as “News” will automatically be placed in the “News” carousel, which makes them easy to find in once place.
- Categories are broader than tags and are great ways to group large numbers of posts together. For example, the College of Humanities has each specific department labeled as a category. This way, department heads, chairs, and students in related majors can easily access all published information. Categories should be added to post pretty sparingly.
- For you, think of using words like “Blog,” “Skills Assessment,” “Research,” etc.
- Tags are where the real magic happens. Tags are more specific than categories and can be added in larger quantities to a post. To take a look at your most common tags, click the “Tags” tab on the right hand side once you’ve selected the main “Posts” tab. A word cloud containing your most used tags will appear. Click on these to see which posts have been tagged.
5. Publish your post! Let people know you’ve got some-thing to say. Make sure people can see your post. If a post is still in the pre-publishing phase, it’ll appear as a “Draft.” You can change who’s able to see the post by toggling the “Visibility” option. (For posts containing in-formation that should only be available to certain people, keep it private and password protected.)
Know that you don’t have to publish your work right away. It’s sometimes a good idea to write a new blog posts in advance and then release them periodically throughout the week, which will keep your workload light while still maintaining a regular posting schedule for your followers.

